
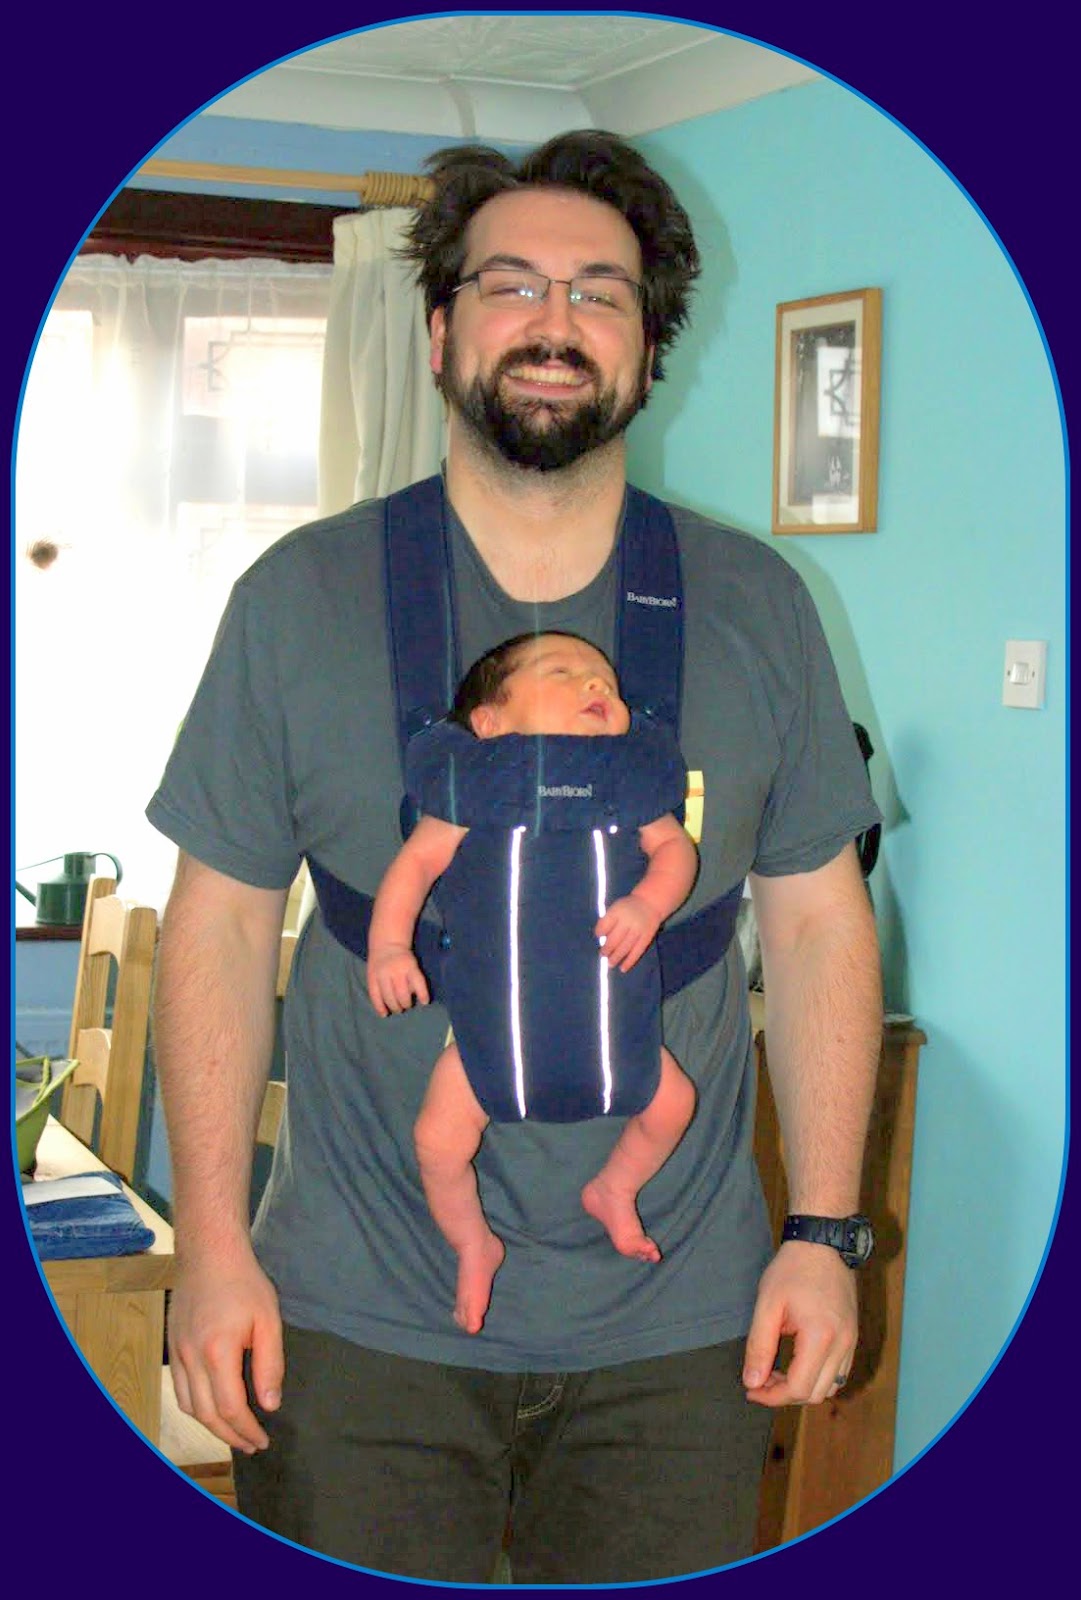
(Goblin is 33 months)
When Goblin was smaller we did a lot of baby wearing, although at the time we had no idea that was what it was called. Now Goblin is big. Our buggy and baby backpack both claim they can take kids up to the age of 4 but their max weight is 15kg. We recently discovered that at 17kg (37 lb) Goblin was too heavy for his normal modes of transport and we were in trouble because we were just about to go on a weeks walking holiday in Wales.
You may ask why we don't just let him walk.
The problem is that Goblin only has two speeds: Hurtle and nap.
And he switches between them really fast.

We checked on line and there aren't many carriers that go above 15kg. The one we ordered is the Patapum Toddler Carrier. It has a max weight of 28kg. It is really easy to put on and it can be adjusted quickly if you and your partner are sharing the load. It comes in a waterproof dry bag that has a clasp to attach to a belt or changing bag. I was really surprised how well it distributes the weight. I was able to carry Goblin for over an hour without getting sore.
As far as I can see there are only two down sides to the Patapum.
- The cost, at £75 it is a pricey carrier for a child who walks most of the time. I wish we had discovered this carrier when he was 16 months old.
- The aesthetic, it squishes my boobs when I do up the chest strap.

Here is a little DIY wrap tutorial
(Thank you MaryAnne at Mama Smiles for the measurements)

Fold the material in half and measure 29" depth from the top edge (This is a 25" wrap depth plus 2" hem on either side). Mark the depth with a pen.
From this mark measure 3 feet in from the fold and mark the depth again. This will give you 6 feet of 25" depth at the middle of your wrap.
At the open end of your material (the end that isn't the fold for any non sewers out there) measure a depth of 13" (this is a 9 inch depth at the end of your wrap plus a 2" hem on either side). Mark the depth with a pen.
Draw a diagonal line from the 13" depth at the end of your material to the 29" depth at the mark 3feet in from the fold.
Cut along that diagonal line and then straight to the edge along the 3 feet of 29" depth.
Now fold your hem in one inch, and then fold it over another inch to hide the frayed edge. Do this all the way round the entire wrap pinning as you go. Iron the folded hem.
Sew the hem on a sewing machine using a straight basic stitch. (I wouldn't advise hand sewing or your child will be fully grown before they get to use it).
Mark the middle of your wrap (where the fold was) and using a different colour thread sew a line down the middle - this will help you always find the centre when you are putting it on.
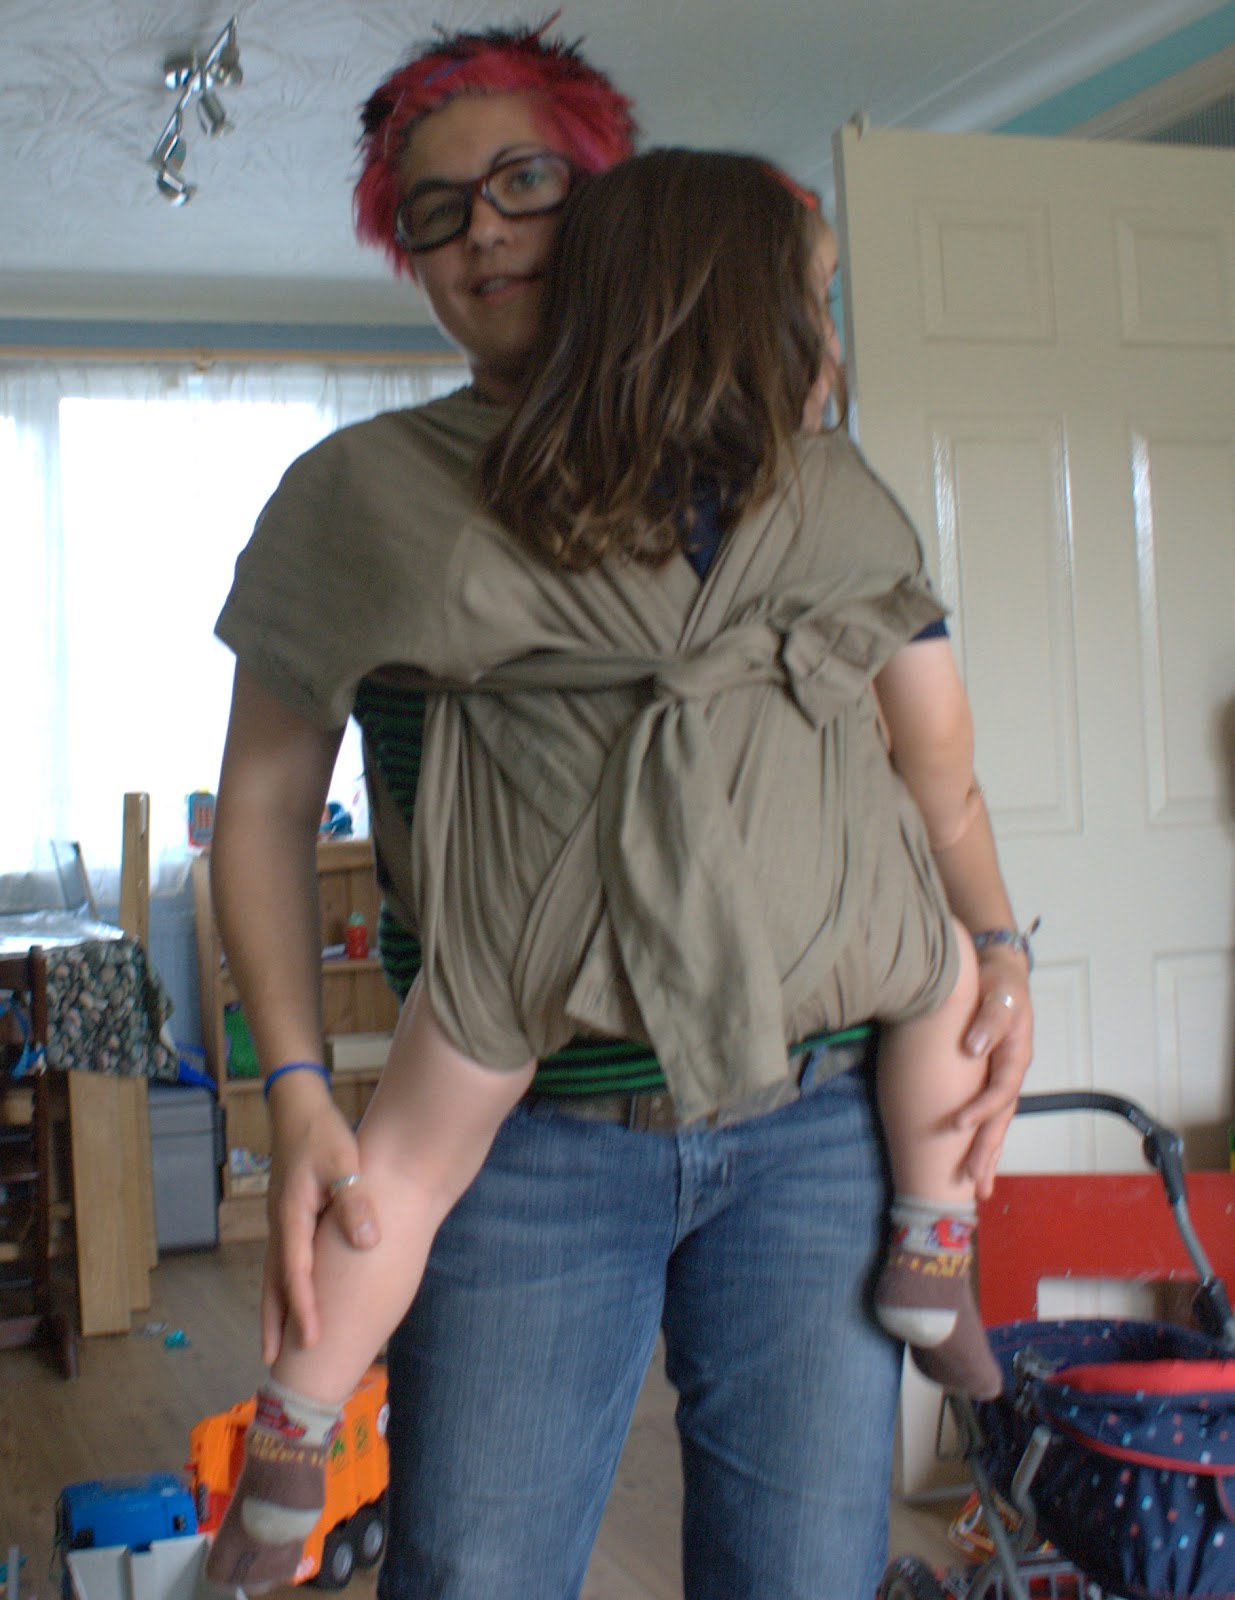
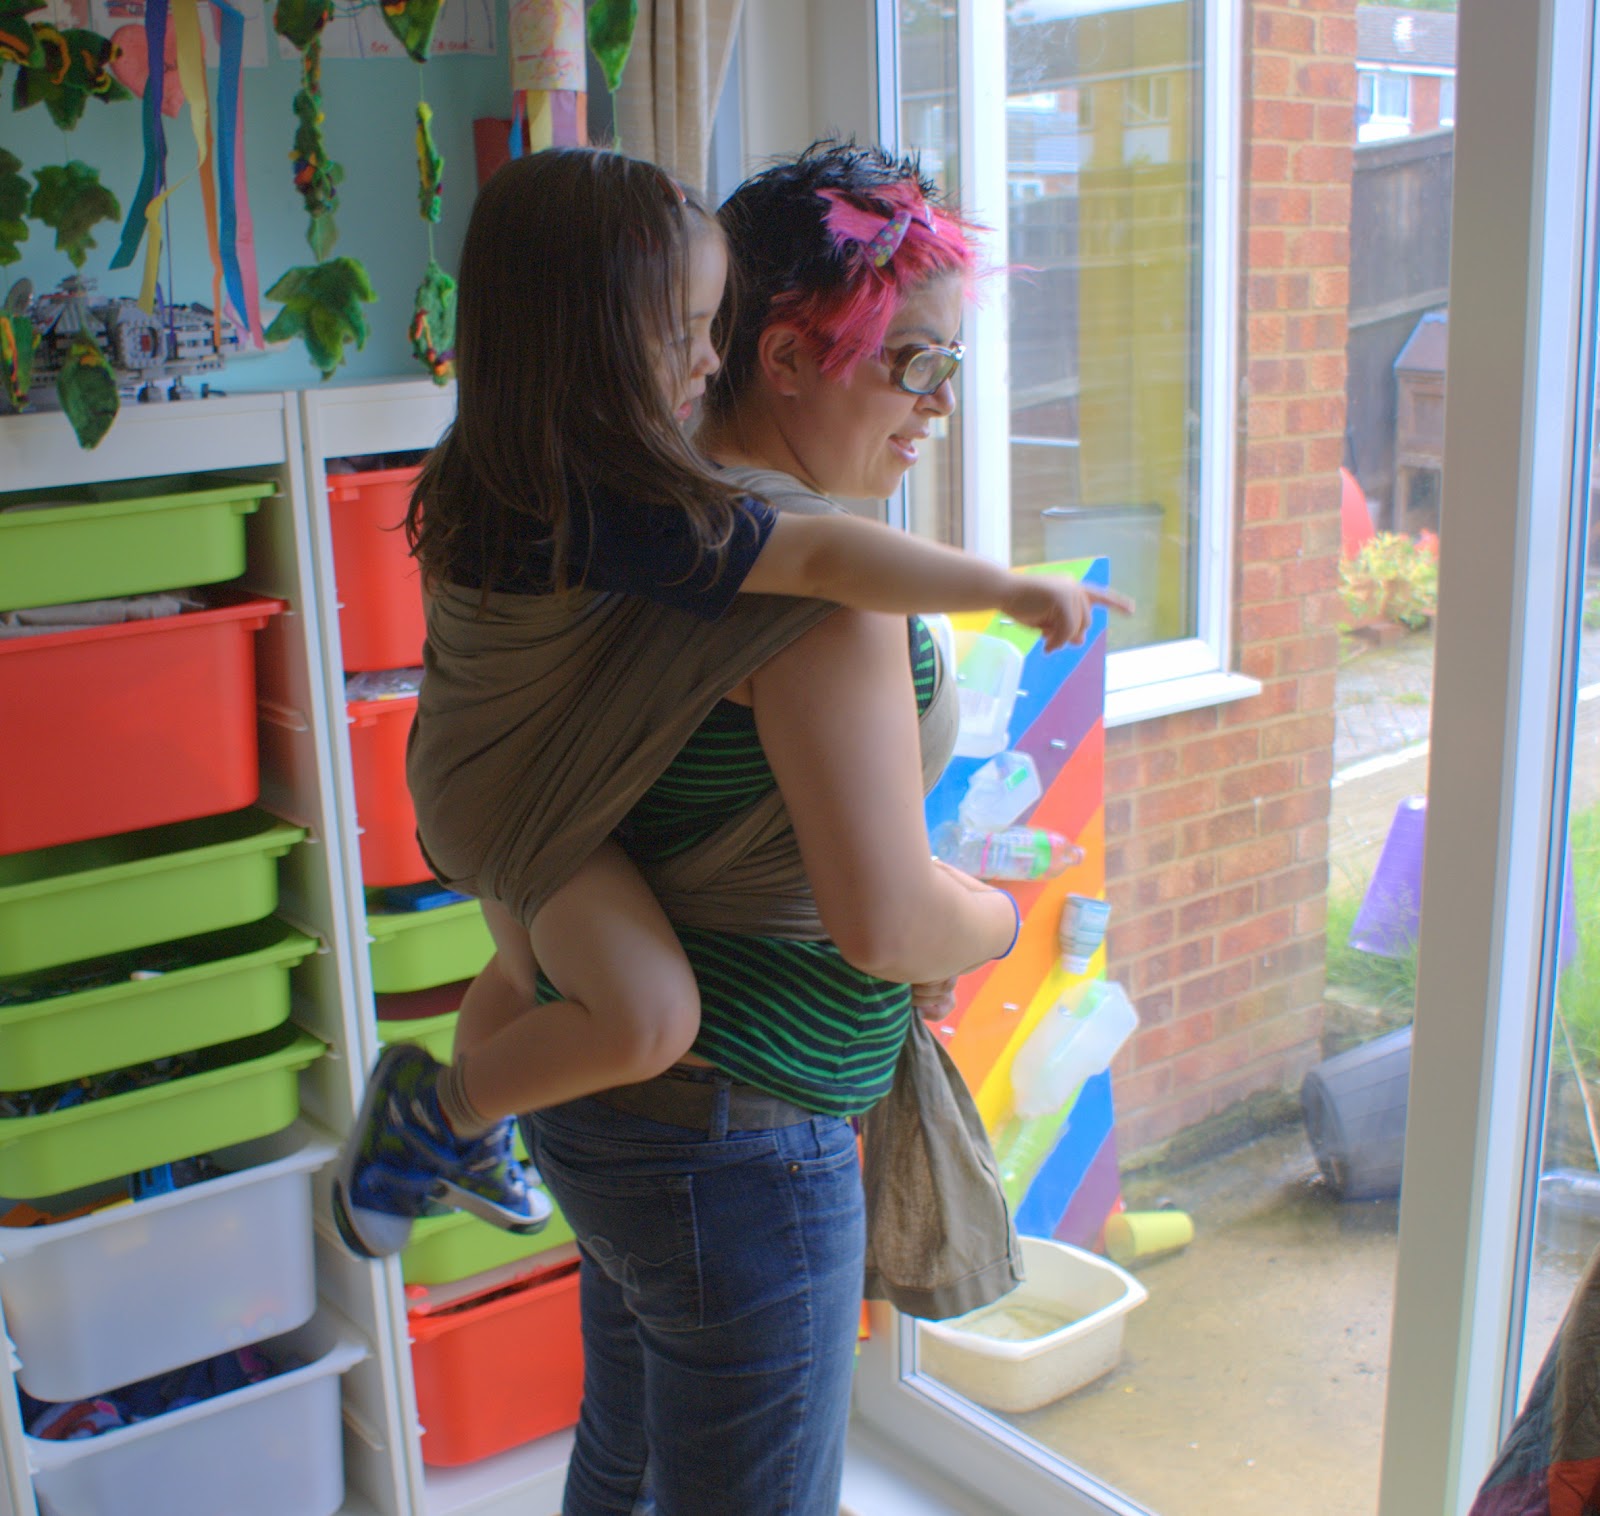
My new wrap is cool. If Goblin is feeling super snuggly I can wear him on my front but I prefer back wearing. There are many variations on how to tie a wrap. I just looked on YouTube and chose the least annoying video.


I should mention that this is not a sponsored link, we didn't get the Patapum for free (I wish!). I simply thought it would be good to let others with heavy toddlers know there are options out there.
I'm sharing this with


.jpg)

I'm so glad it worked! Looks like you really mastered the wrapping, too!
ReplyDeleteGood to know you like the Patapum carrier, as well!
Yay!!! I'm glad you found a great solution. I seriously laughed at "hurdle or nap."
ReplyDeleteI love babywearing! We got into it early on, so I have ring slings, mei tais and woven wraps. I used a short wrap this past week b/c Bobo hurt his ankle and couldn't walk. I tend to use the hip carry most often. I do have a couple of tips for you. To avoid dragging the tails, tuck the ends in your pocket. Also, Goblins knees should be higher than his bum for more support and a more comfortable seat for him.
ReplyDeleteThanks Miss Courtney, thats really great advice about the tails and the knees. I don't get on with hip carrying because I suffer from lower back pain so any carry that throws my spine out of alignment isn't great - thats why I have never managed a ring sling. But double hammock - which is what I think the back carry is that we were doing i the picture seemed to work well for both me and Goblin (but I will make sure his knees are up in future).
DeleteThanks for sharing this with us at tip toe thru tuesday!
ReplyDeleteThats so cute.. So super cute!! Thank you for linking into Made with Love.. :)
ReplyDeleteThis is super helpful - you can disregard my previous comment in the other blog hop baby wearing post. Of course, if I just read all of the posts in the hop (which I am doing now!!), I will get the answer to my question. Duh!
ReplyDelete